SipCube S1 — Setup Guide
SipCube S1 Setup: Get Started in 6 Steps
Follow this guide to charge, connect, and start tracking your hydration automatically.
BOX
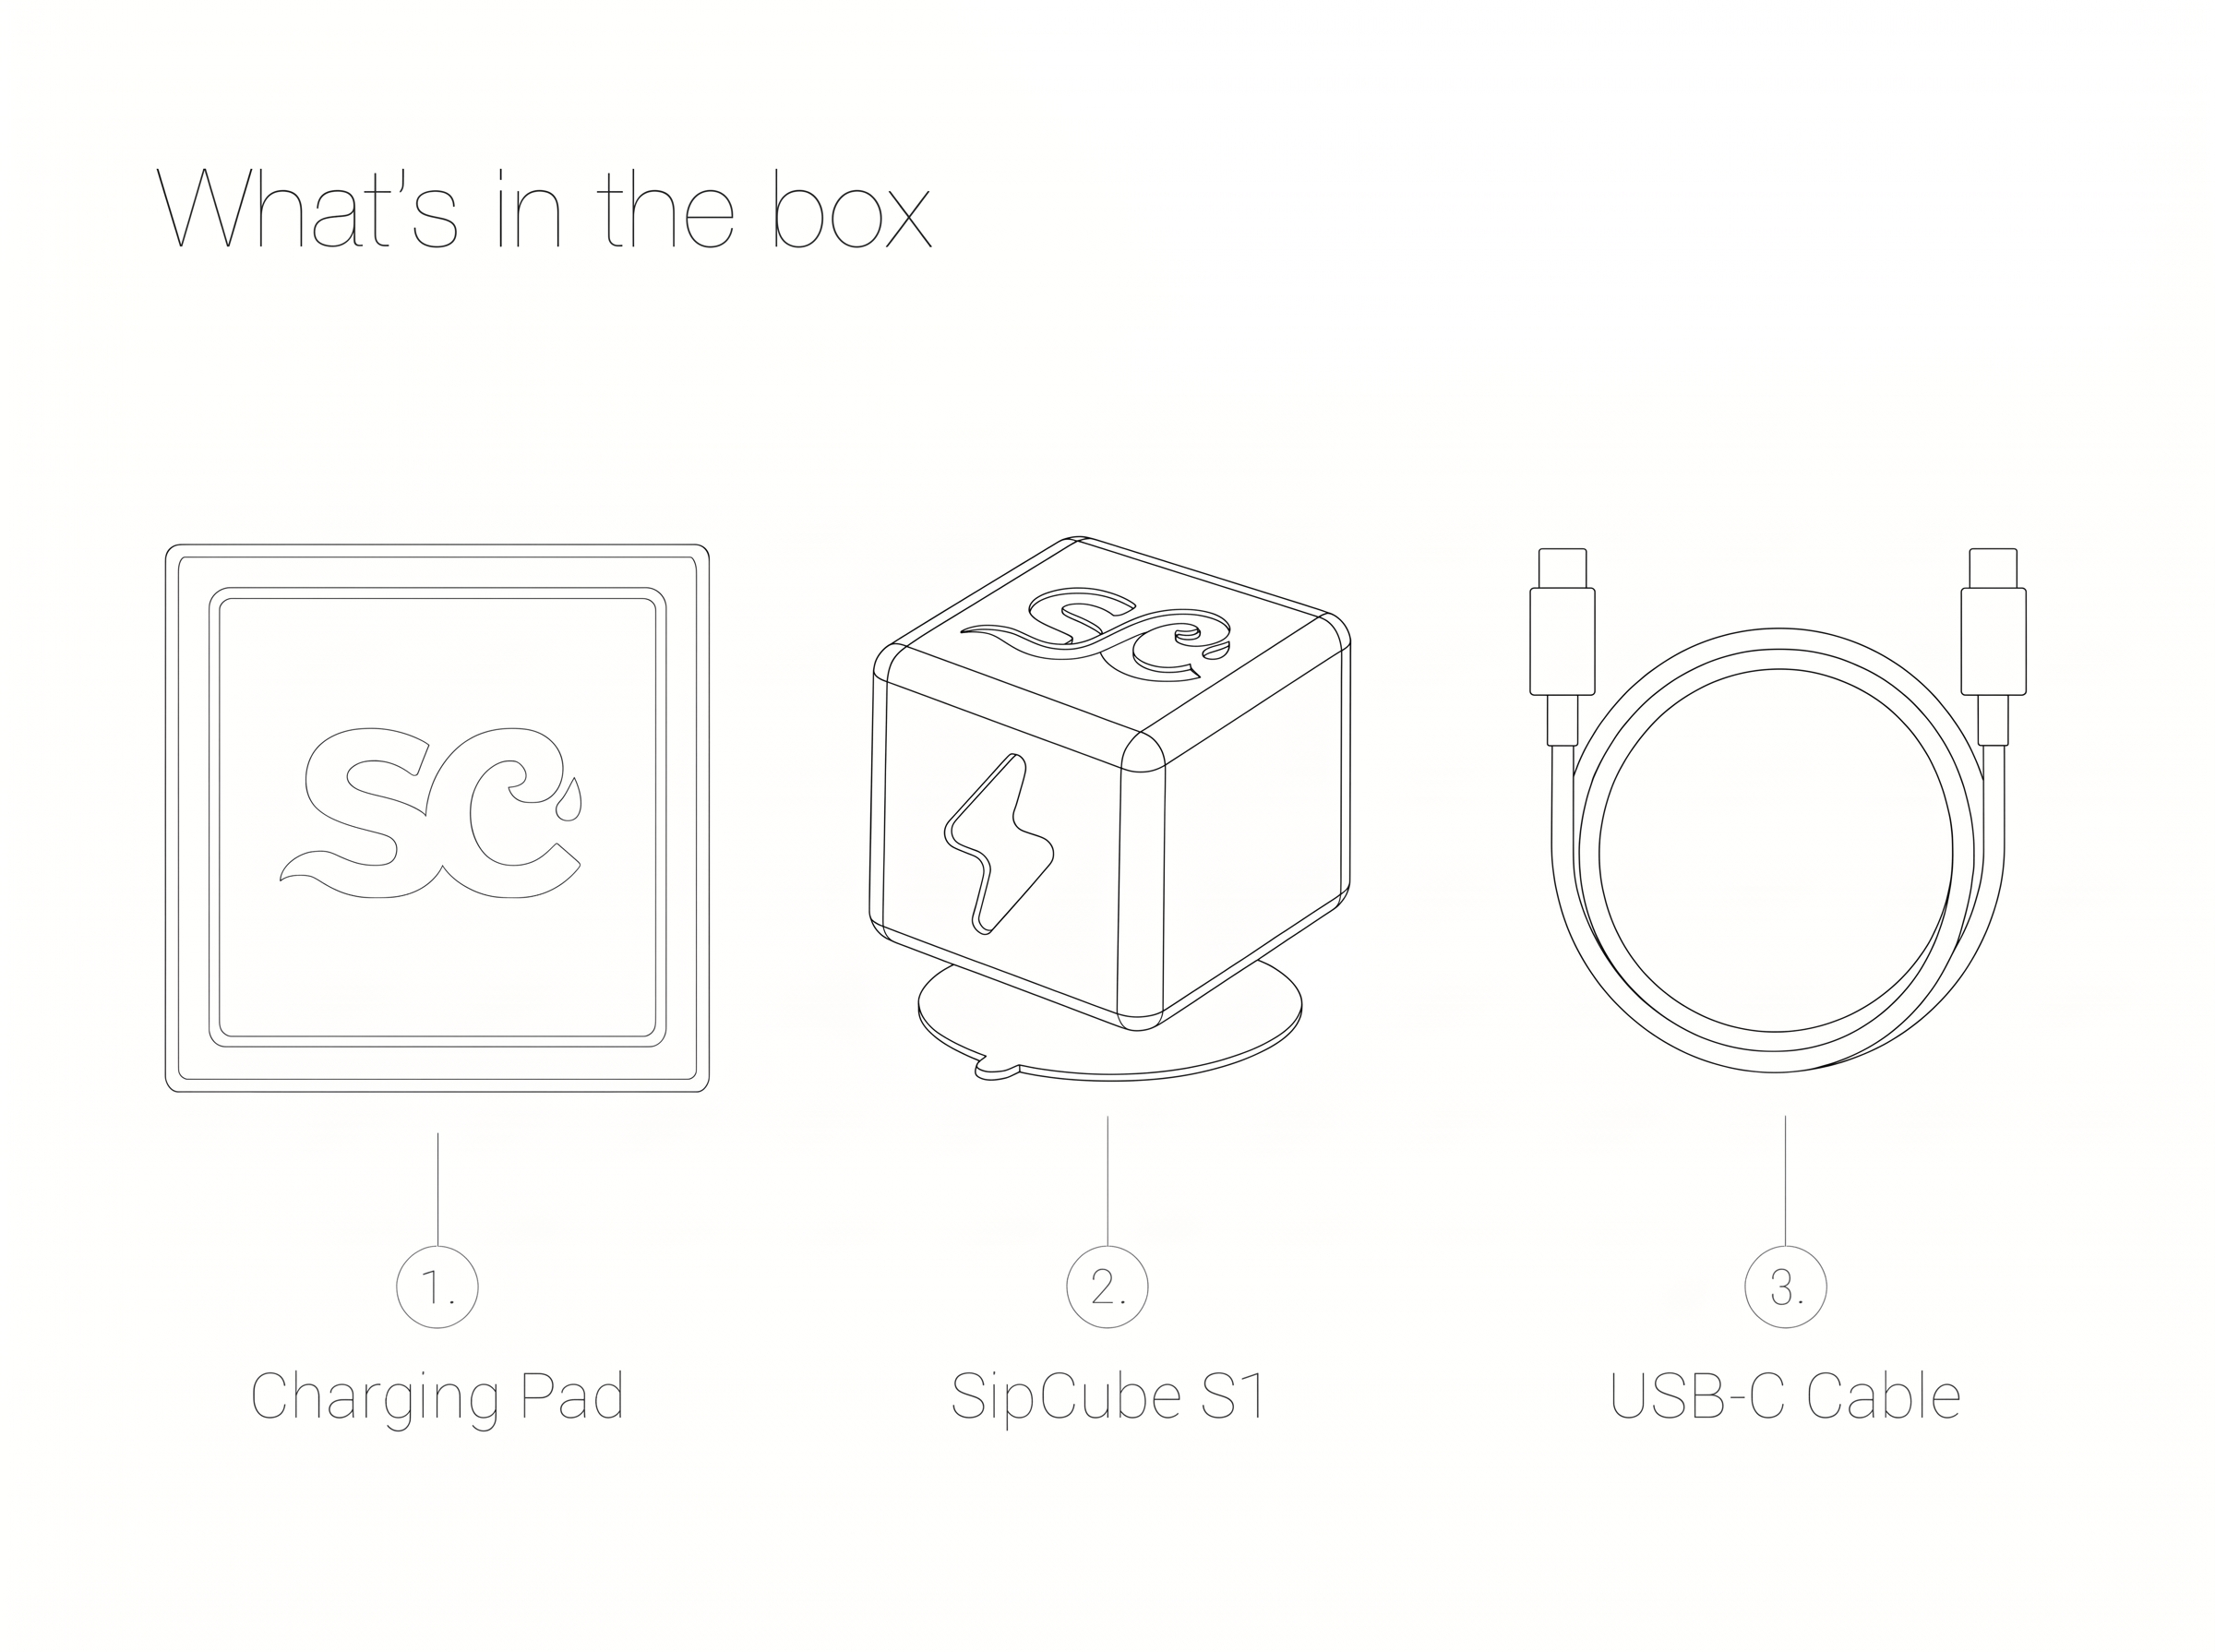
What’s in the box
Check that all six items are present before getting started.
1
Charging Pad
2
SipCube S1
3
USB-C Cable
4
Gripper Tool
5
Grabber
6
Extension
Use the included gripper tool to press the SipCube firmly into your bottle and the grabber to break the suction and remove it — no need to reach inside. Attach the extension to either tool for taller bottles.
1
Charge your SipCube
Place SipCube on the wireless charging pad and connect the pad to power via USB-C. Charge for at least 2 hours before first use.
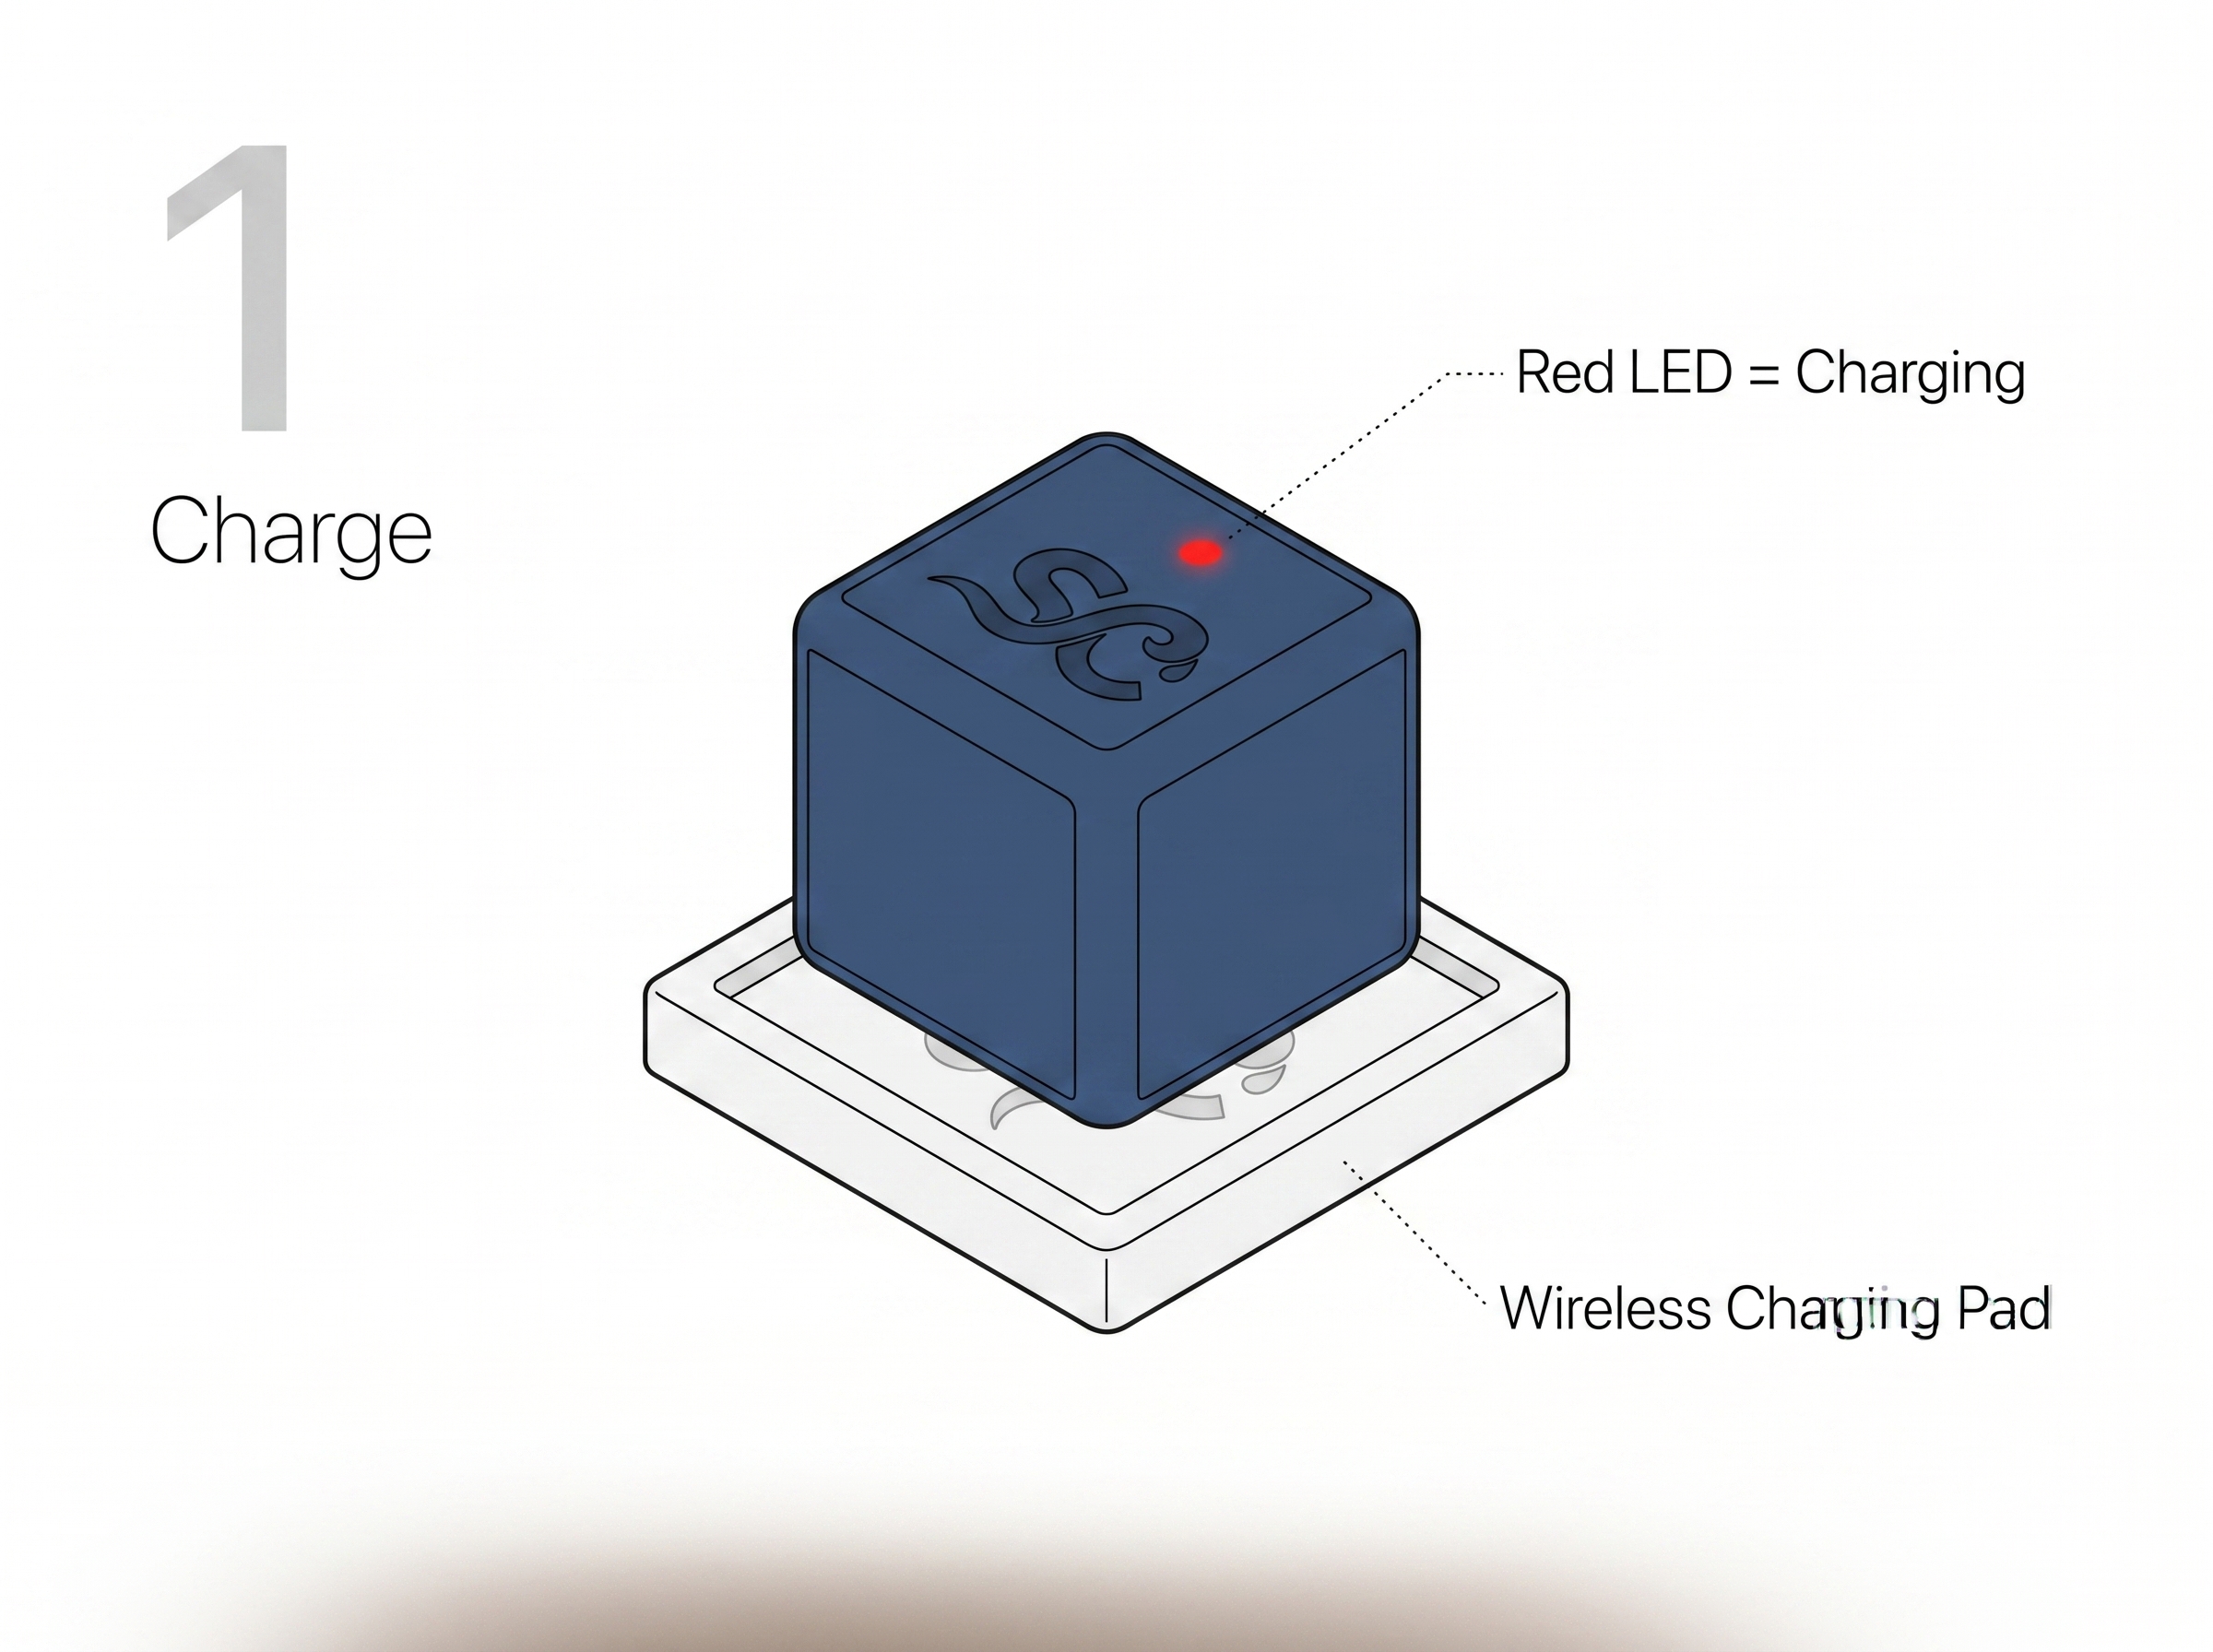
Red LED = Charging. The LED turns off automatically when fully charged. No need to remove it from the pad.
2
Turn it on
Remove SipCube from the charging pad, then press the button on top once to power on.
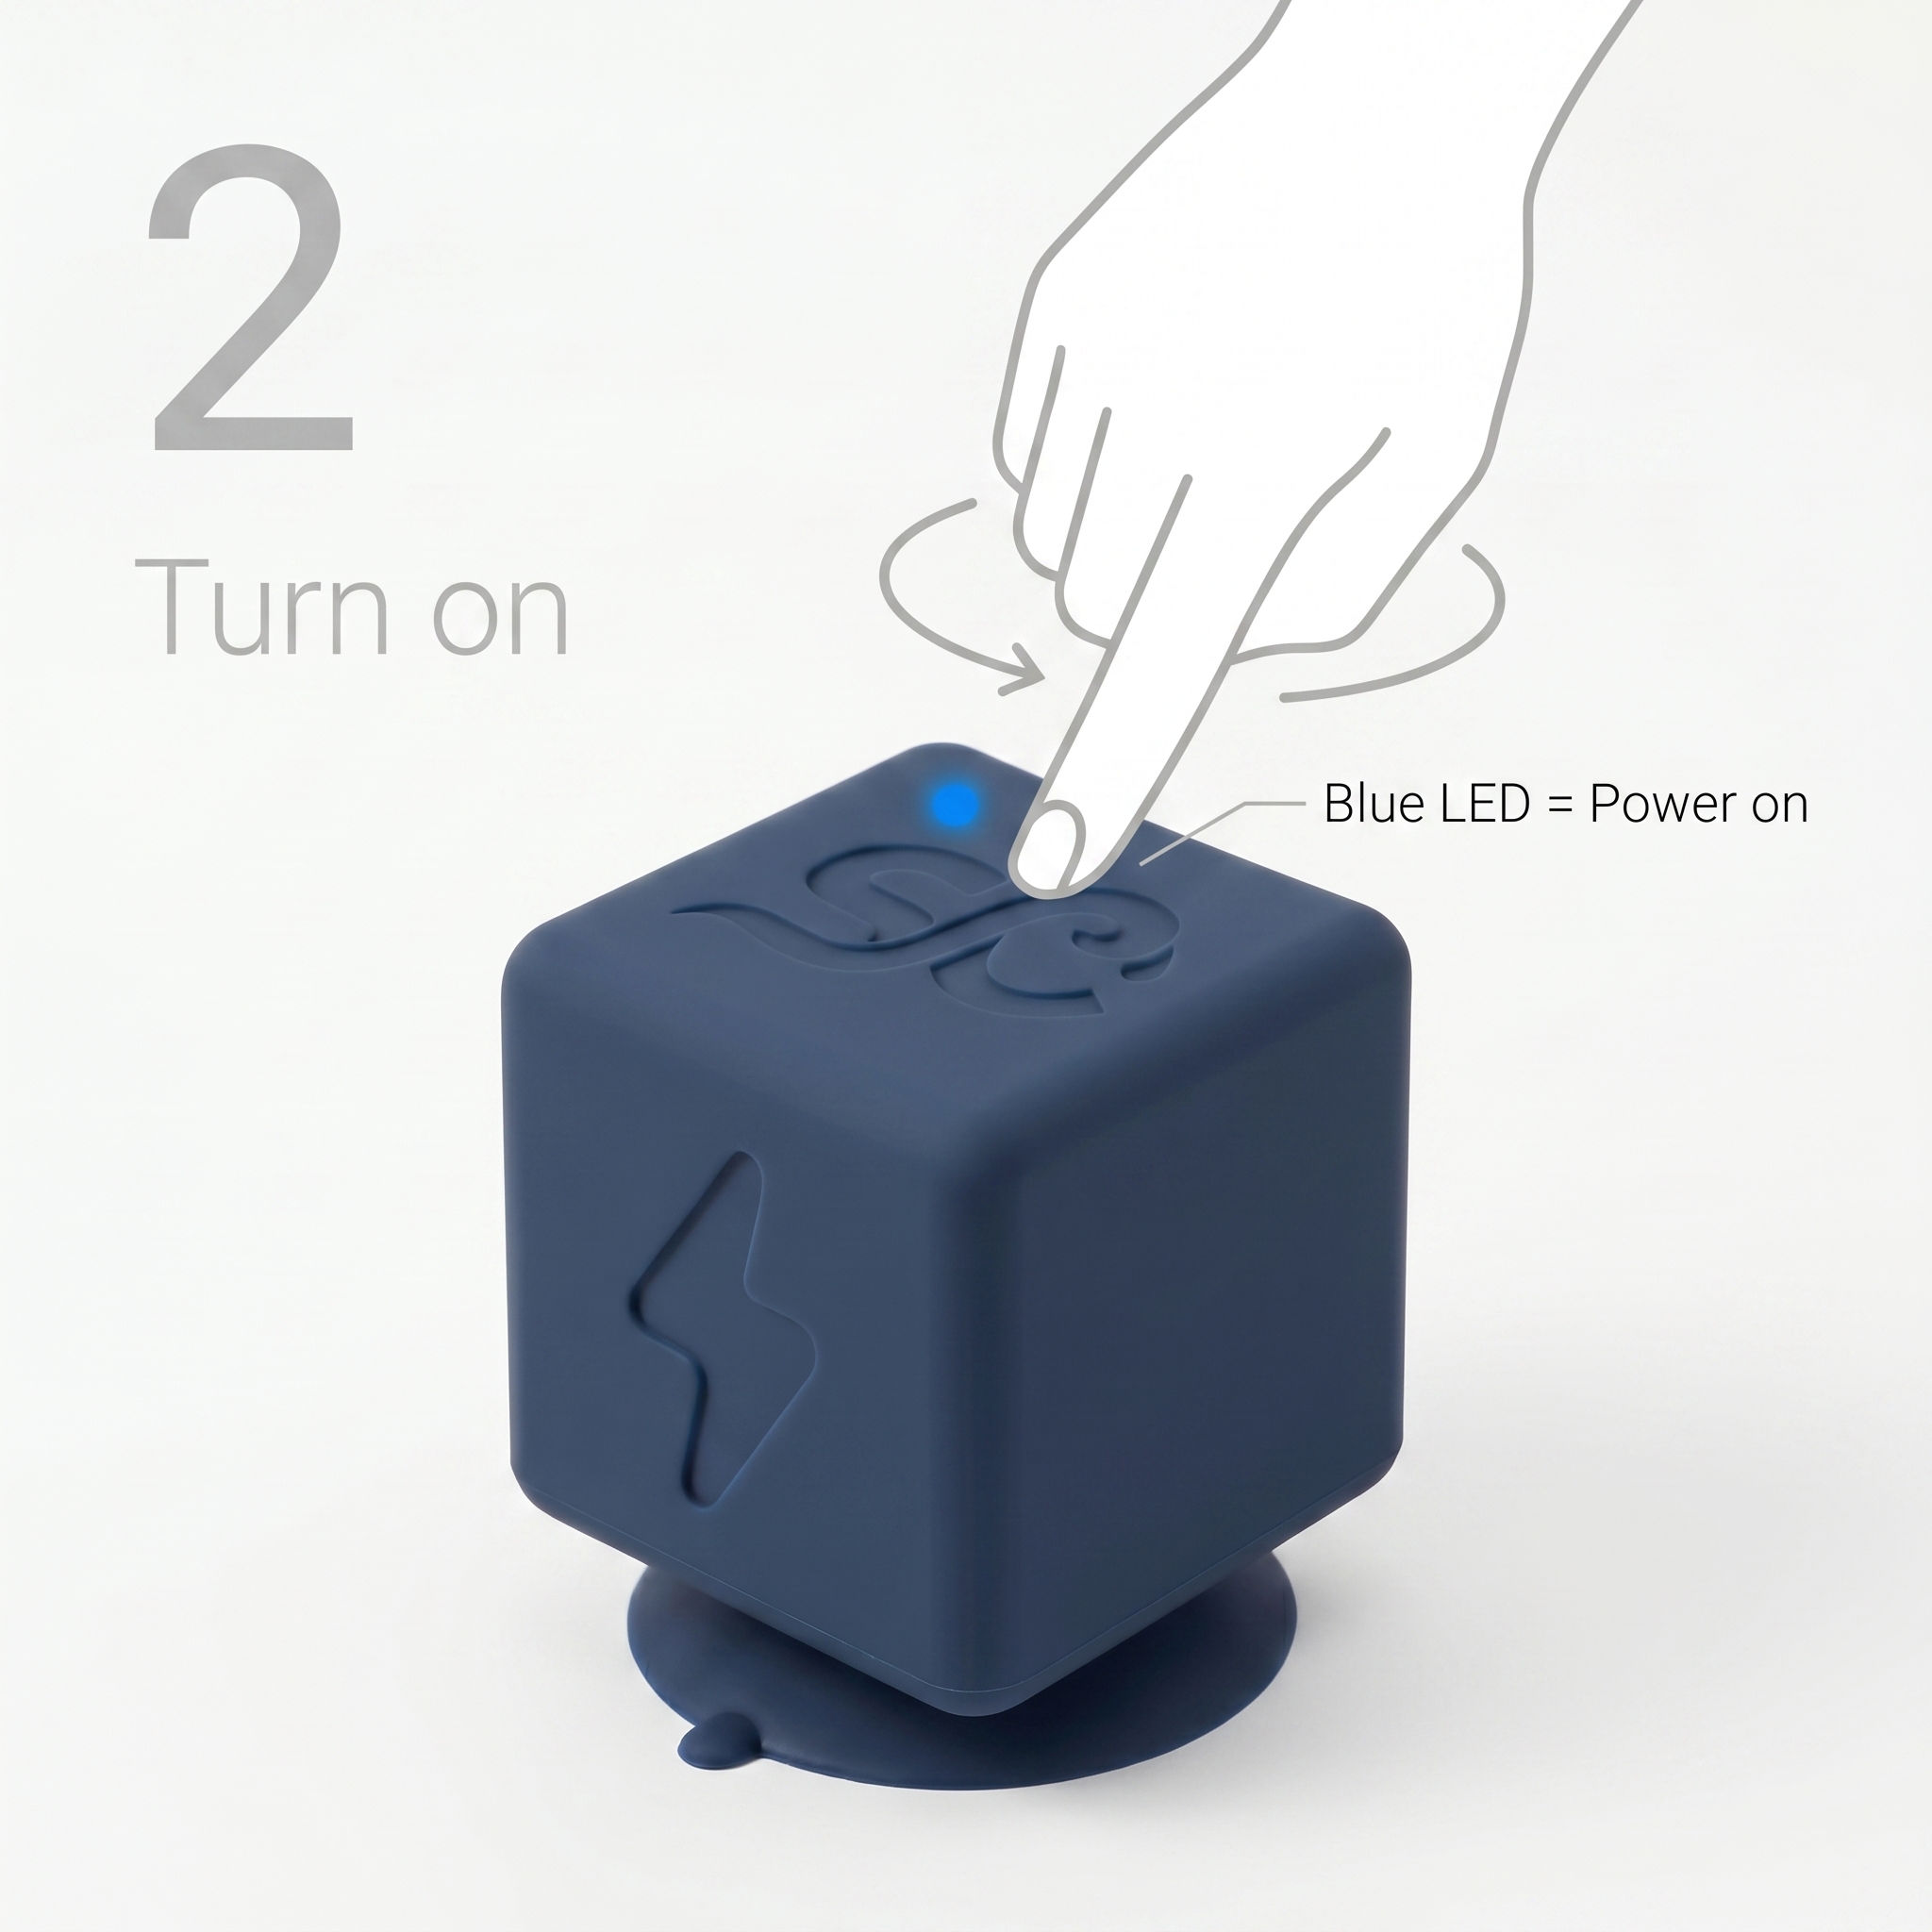
Blue LED = Power on. A solid blue light means SipCube is on and searching for your phone.
3
Download the app
Search for SipCube on the App Store or Google Play Store. Create an account or sign in.
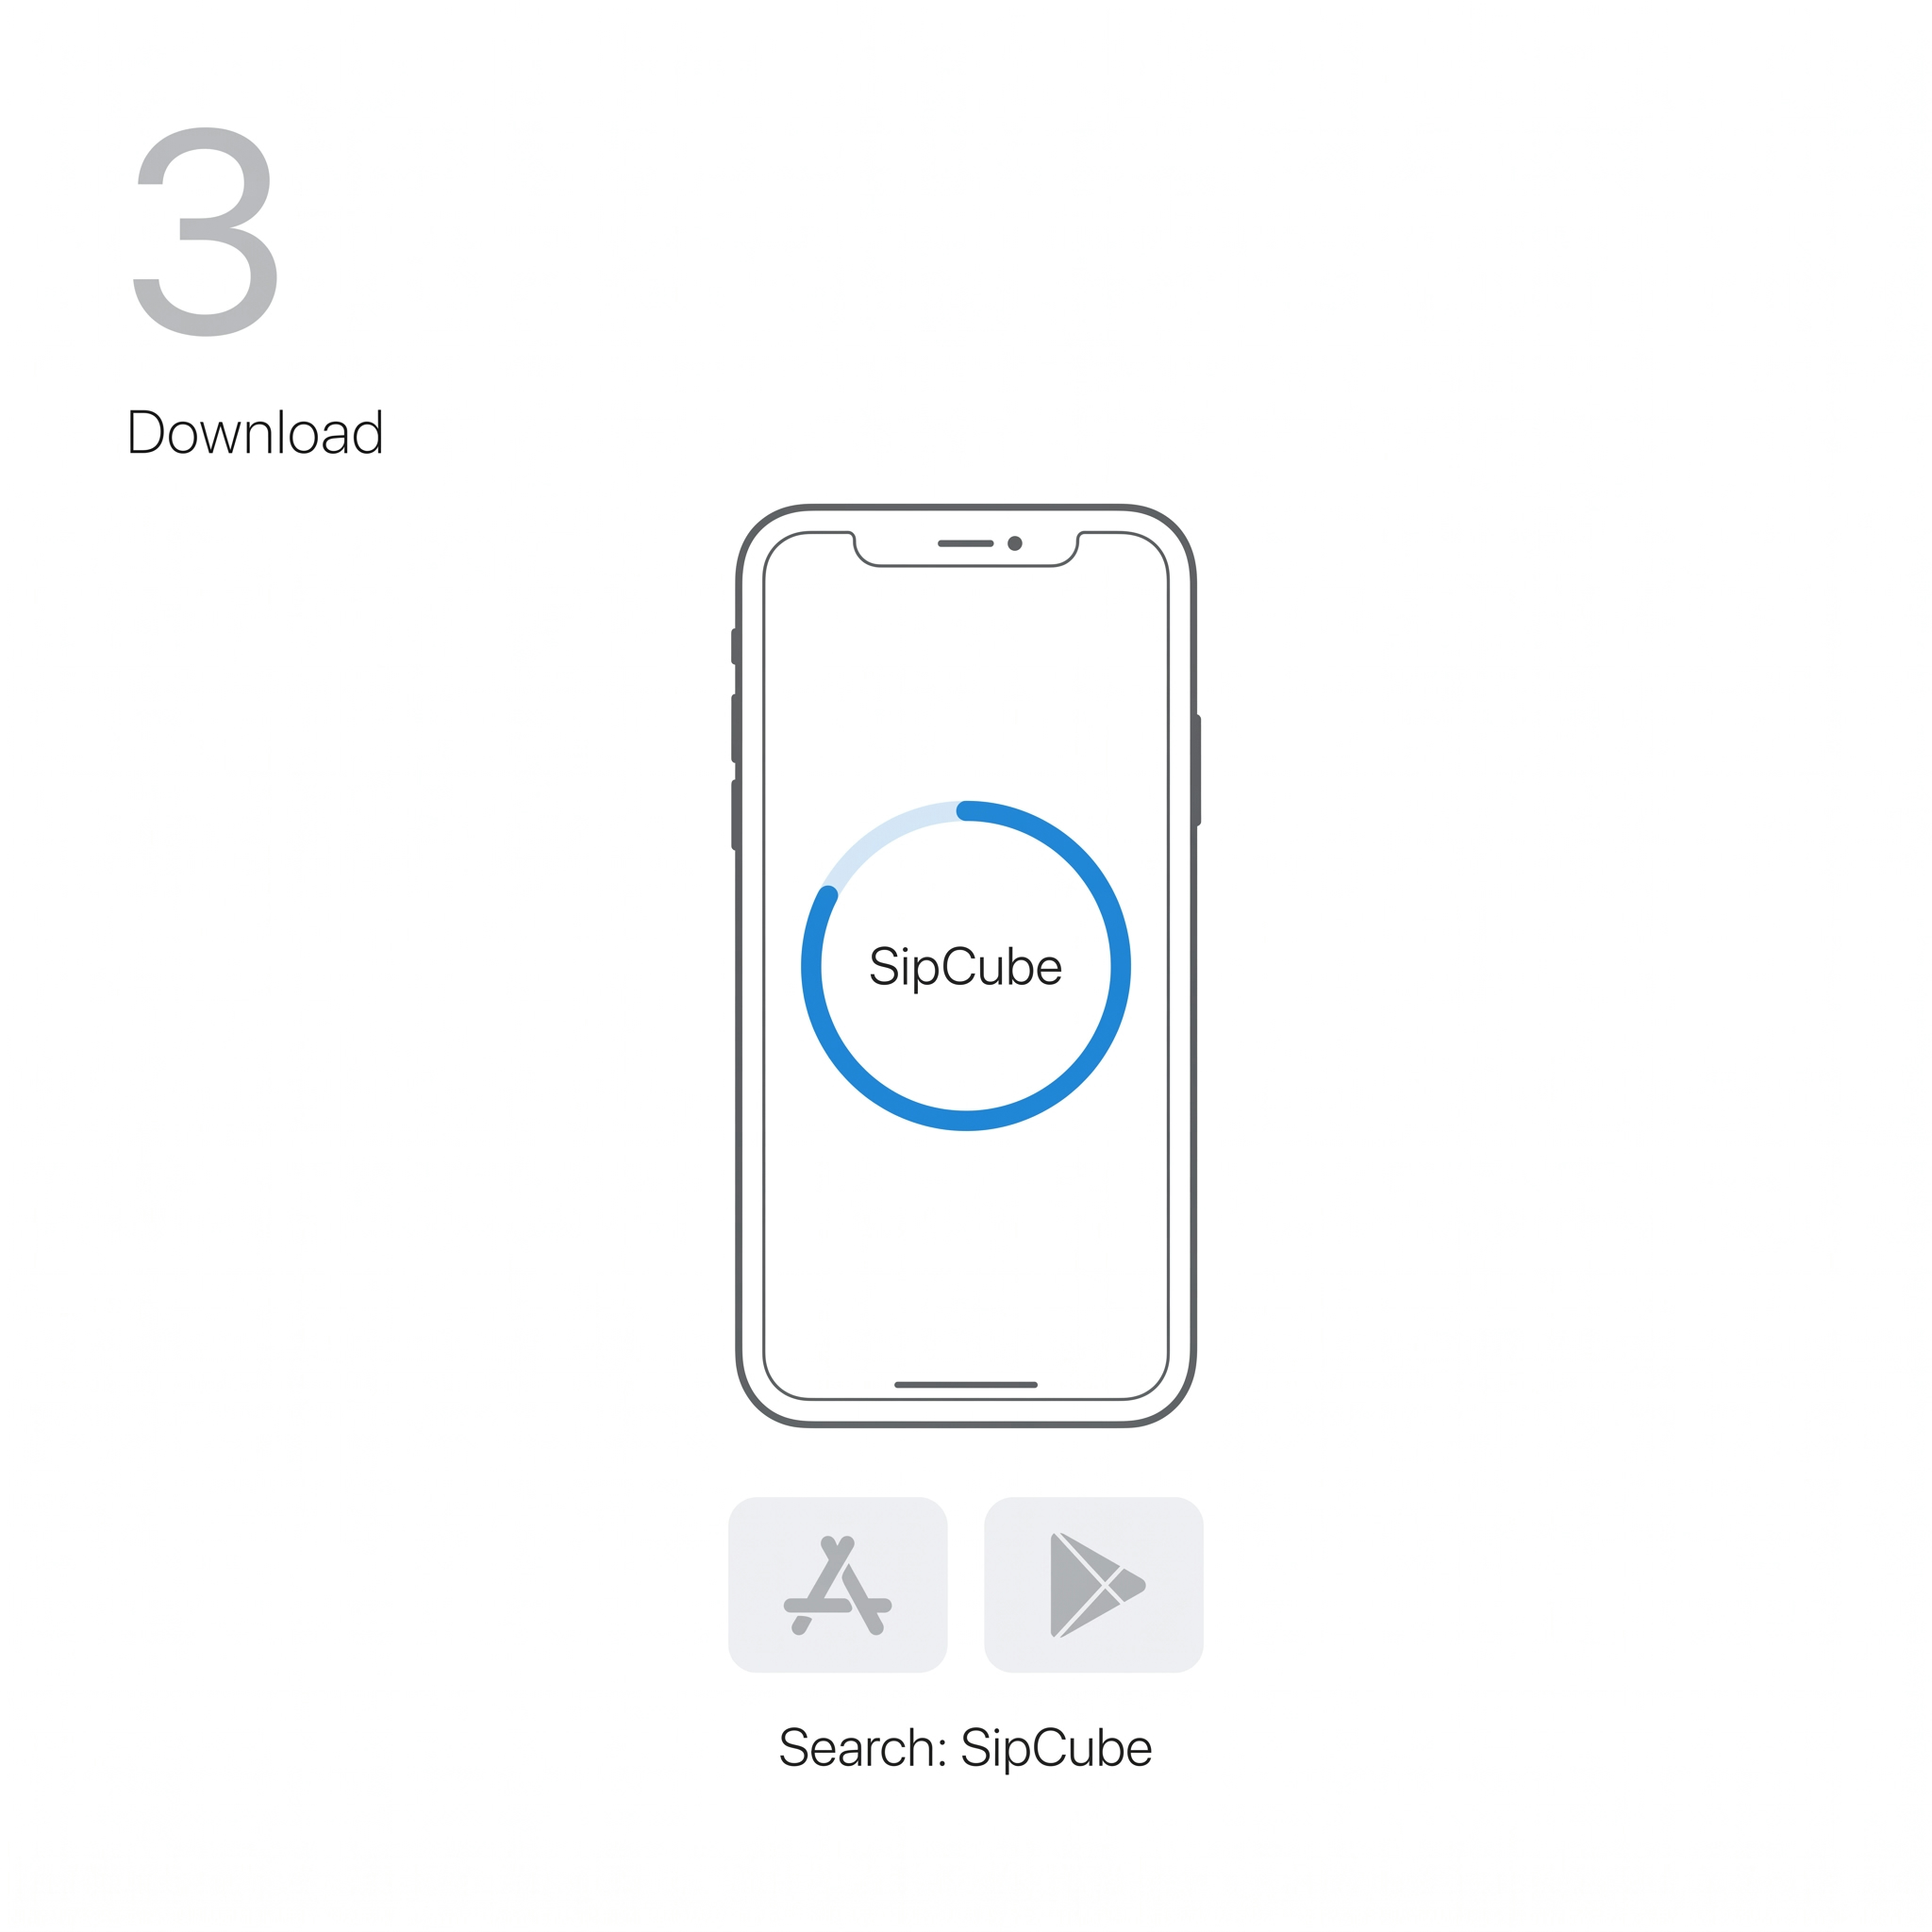
The app works on iOS 15+ and Android 8+. Enable Bluetooth before proceeding to the next step.
4
Connect via Bluetooth
In the app, go to Settings → Connect Device. The app will scan and pair with your SipCube automatically.
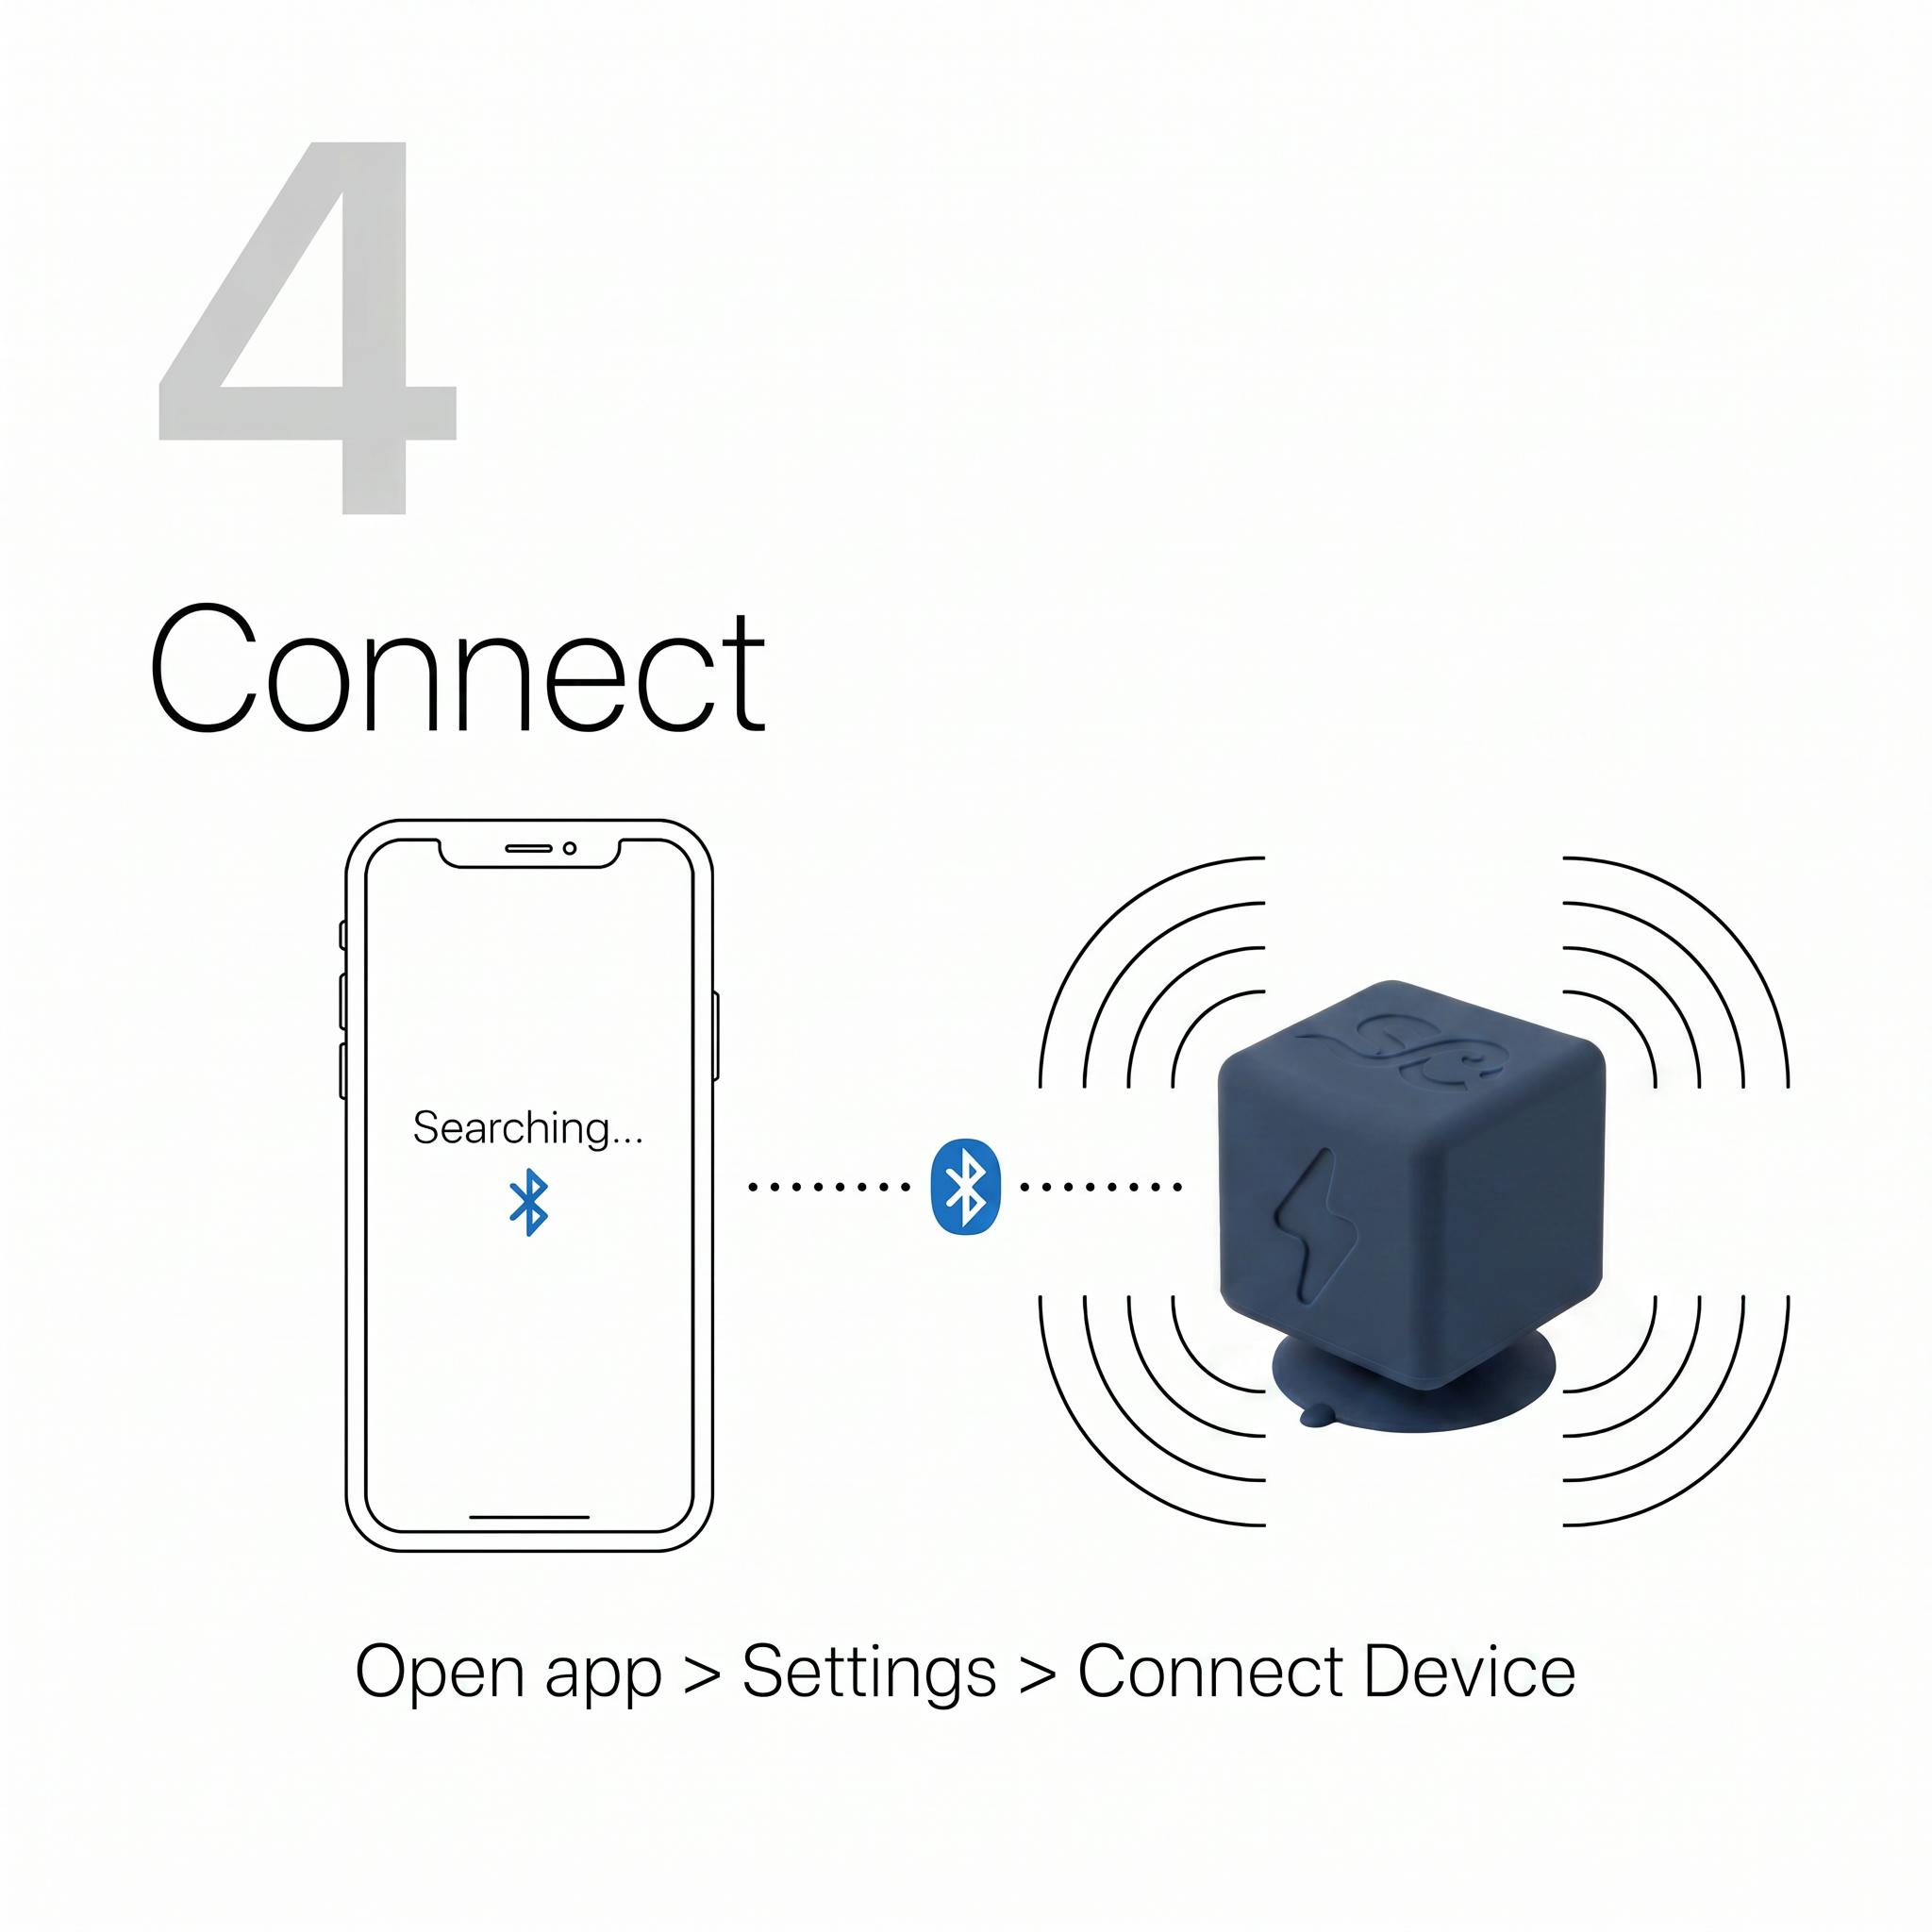
Make sure SipCube is within 1 metre of your phone during pairing. If it doesn’t appear, press the button to wake it up.
5
Install & calibrate
Use the gripper tool to press SipCube firmly to the bottom of your bottle. Then go to Settings → Calibrate Device — this teaches SipCube your specific bottle in about 30 seconds.

You only need to calibrate once per bottle. If you switch bottles, recalibrate via Settings → Calibrate Device.
To remove SipCube, use the grabber tool to press down at the edge of the suction cup and break the seal — then lift straight out. Use the extension if you can't reach the bottom of your bottle.
6
Start drinking
That’s it. Every sip is tracked automatically and synced to the app within 3 seconds. Your daily progress updates in real time.
SipCube works best with still water, juices, and non-carbonated cold drinks. Avoid carbonated beverages and liquids above 140°F (60°C).
LED
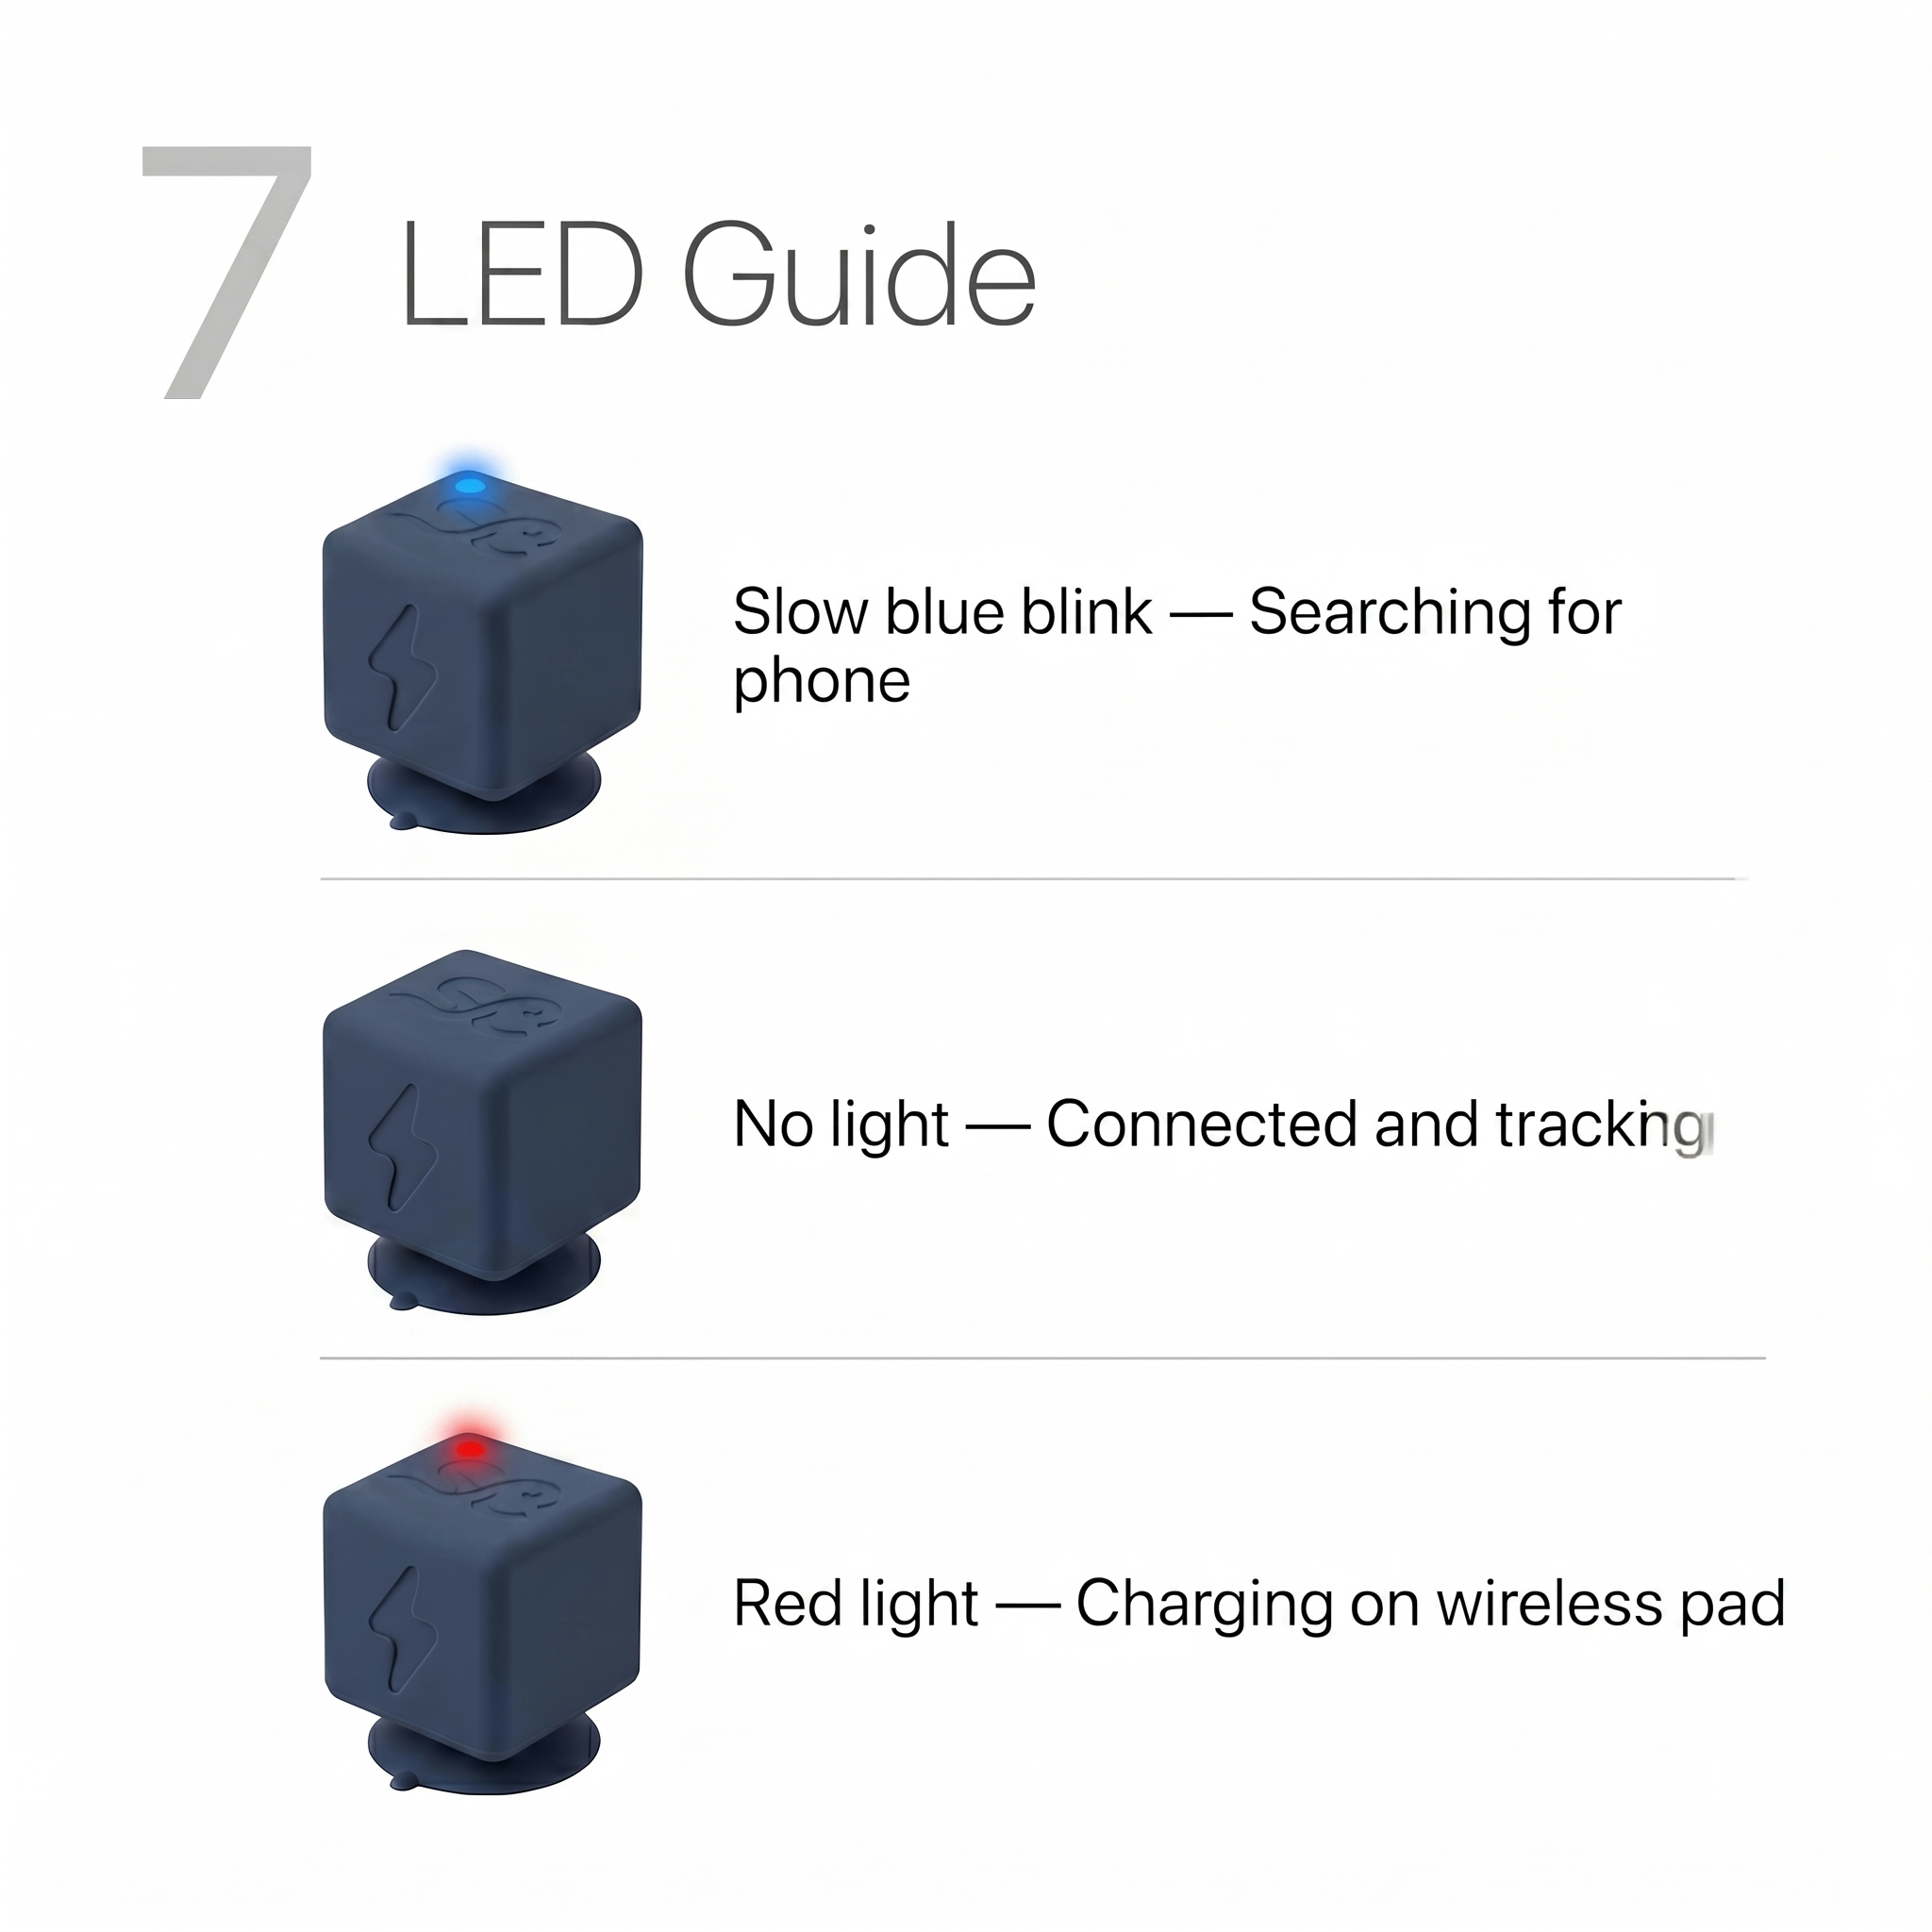
LED Guide
The single LED on the top face of SipCube tells you everything about its current state.
| LED State | Meaning |
|---|---|
| Slow blue blink | Searching for phone — open the app to connect |
| No light | Connected and actively tracking your sips |
| Red light | Charging on the wireless pad |
| Red light off (on pad) | Fully charged — ready to use |
PWR
Power Guide
One button controls everything. Here’s what each press does.
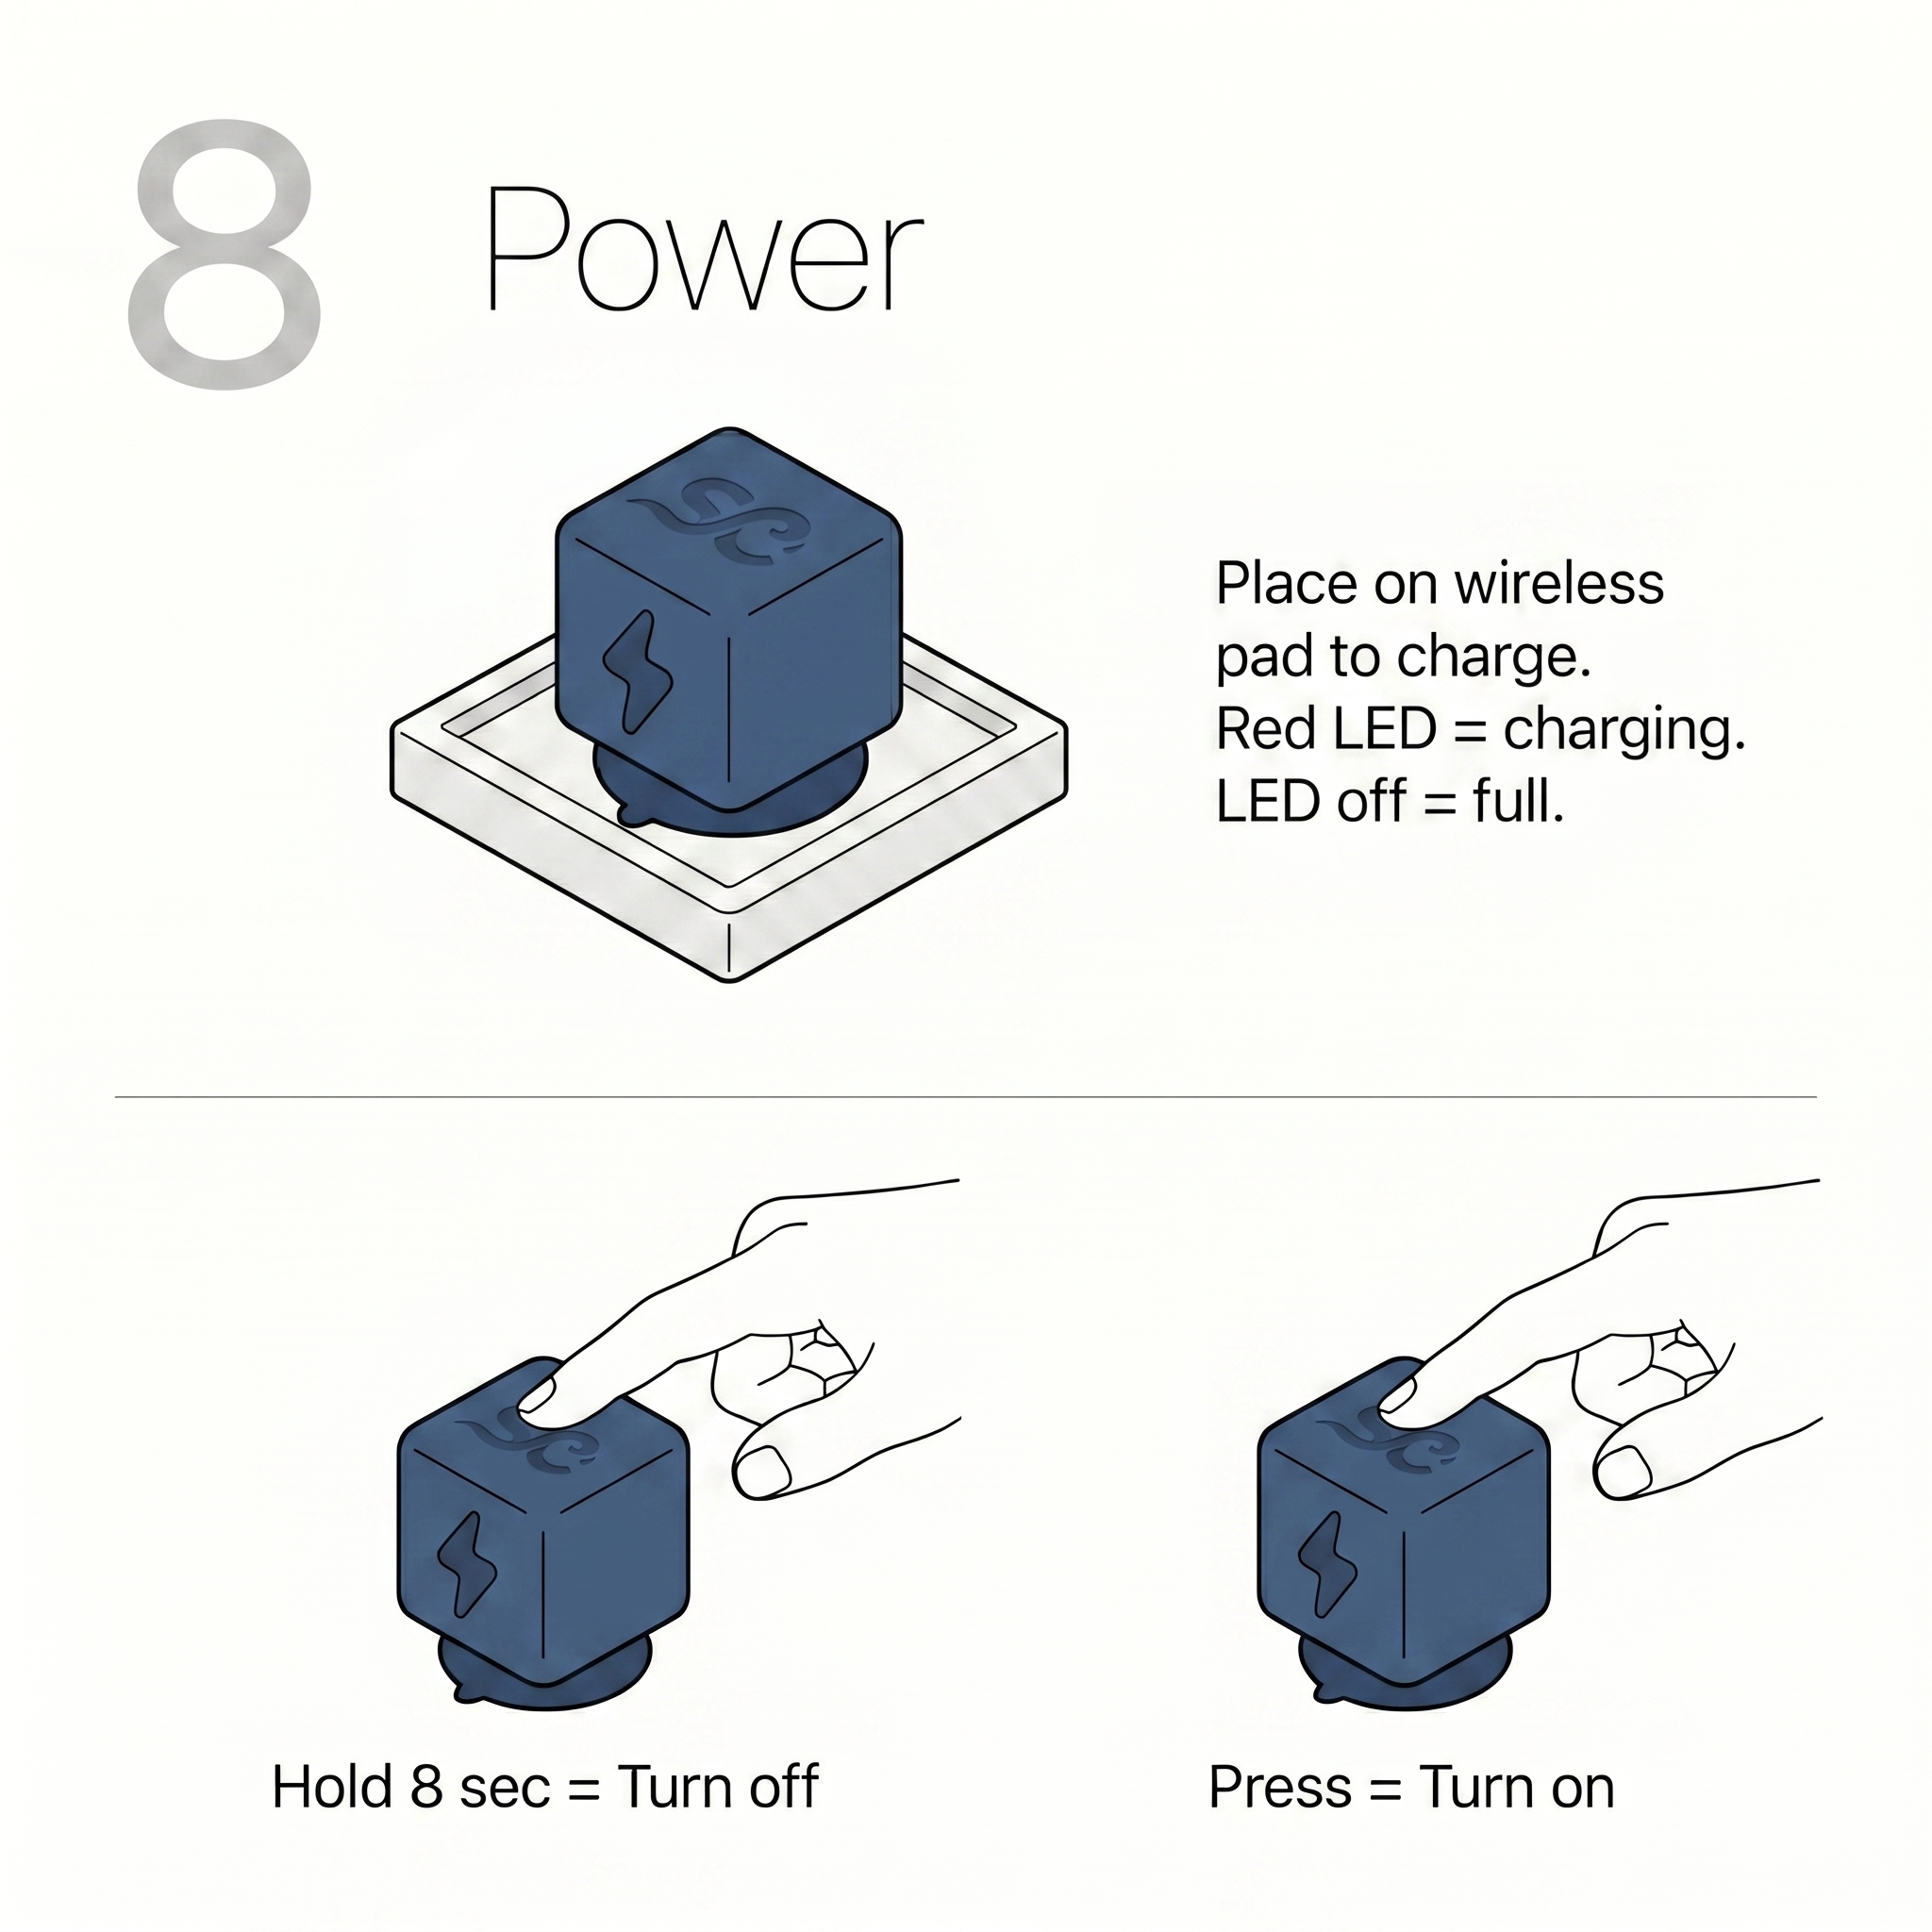
Press once
Turn on. Blue LED confirms the device is powered and searching for your phone.
Hold 8 seconds
Turn off. Hold until the LED flashes twice, then release. SipCube will stop tracking.
Place on pad
Charge wirelessly. Red LED = charging. LED off = full charge. No button press needed.
LED off = full
When charging is complete the red LED turns off automatically. Remove from pad and press once to turn on.
All set
Your first month is free
Scan the QR code below or visit the link to activate your subscription and unlock the full SipCube experience.
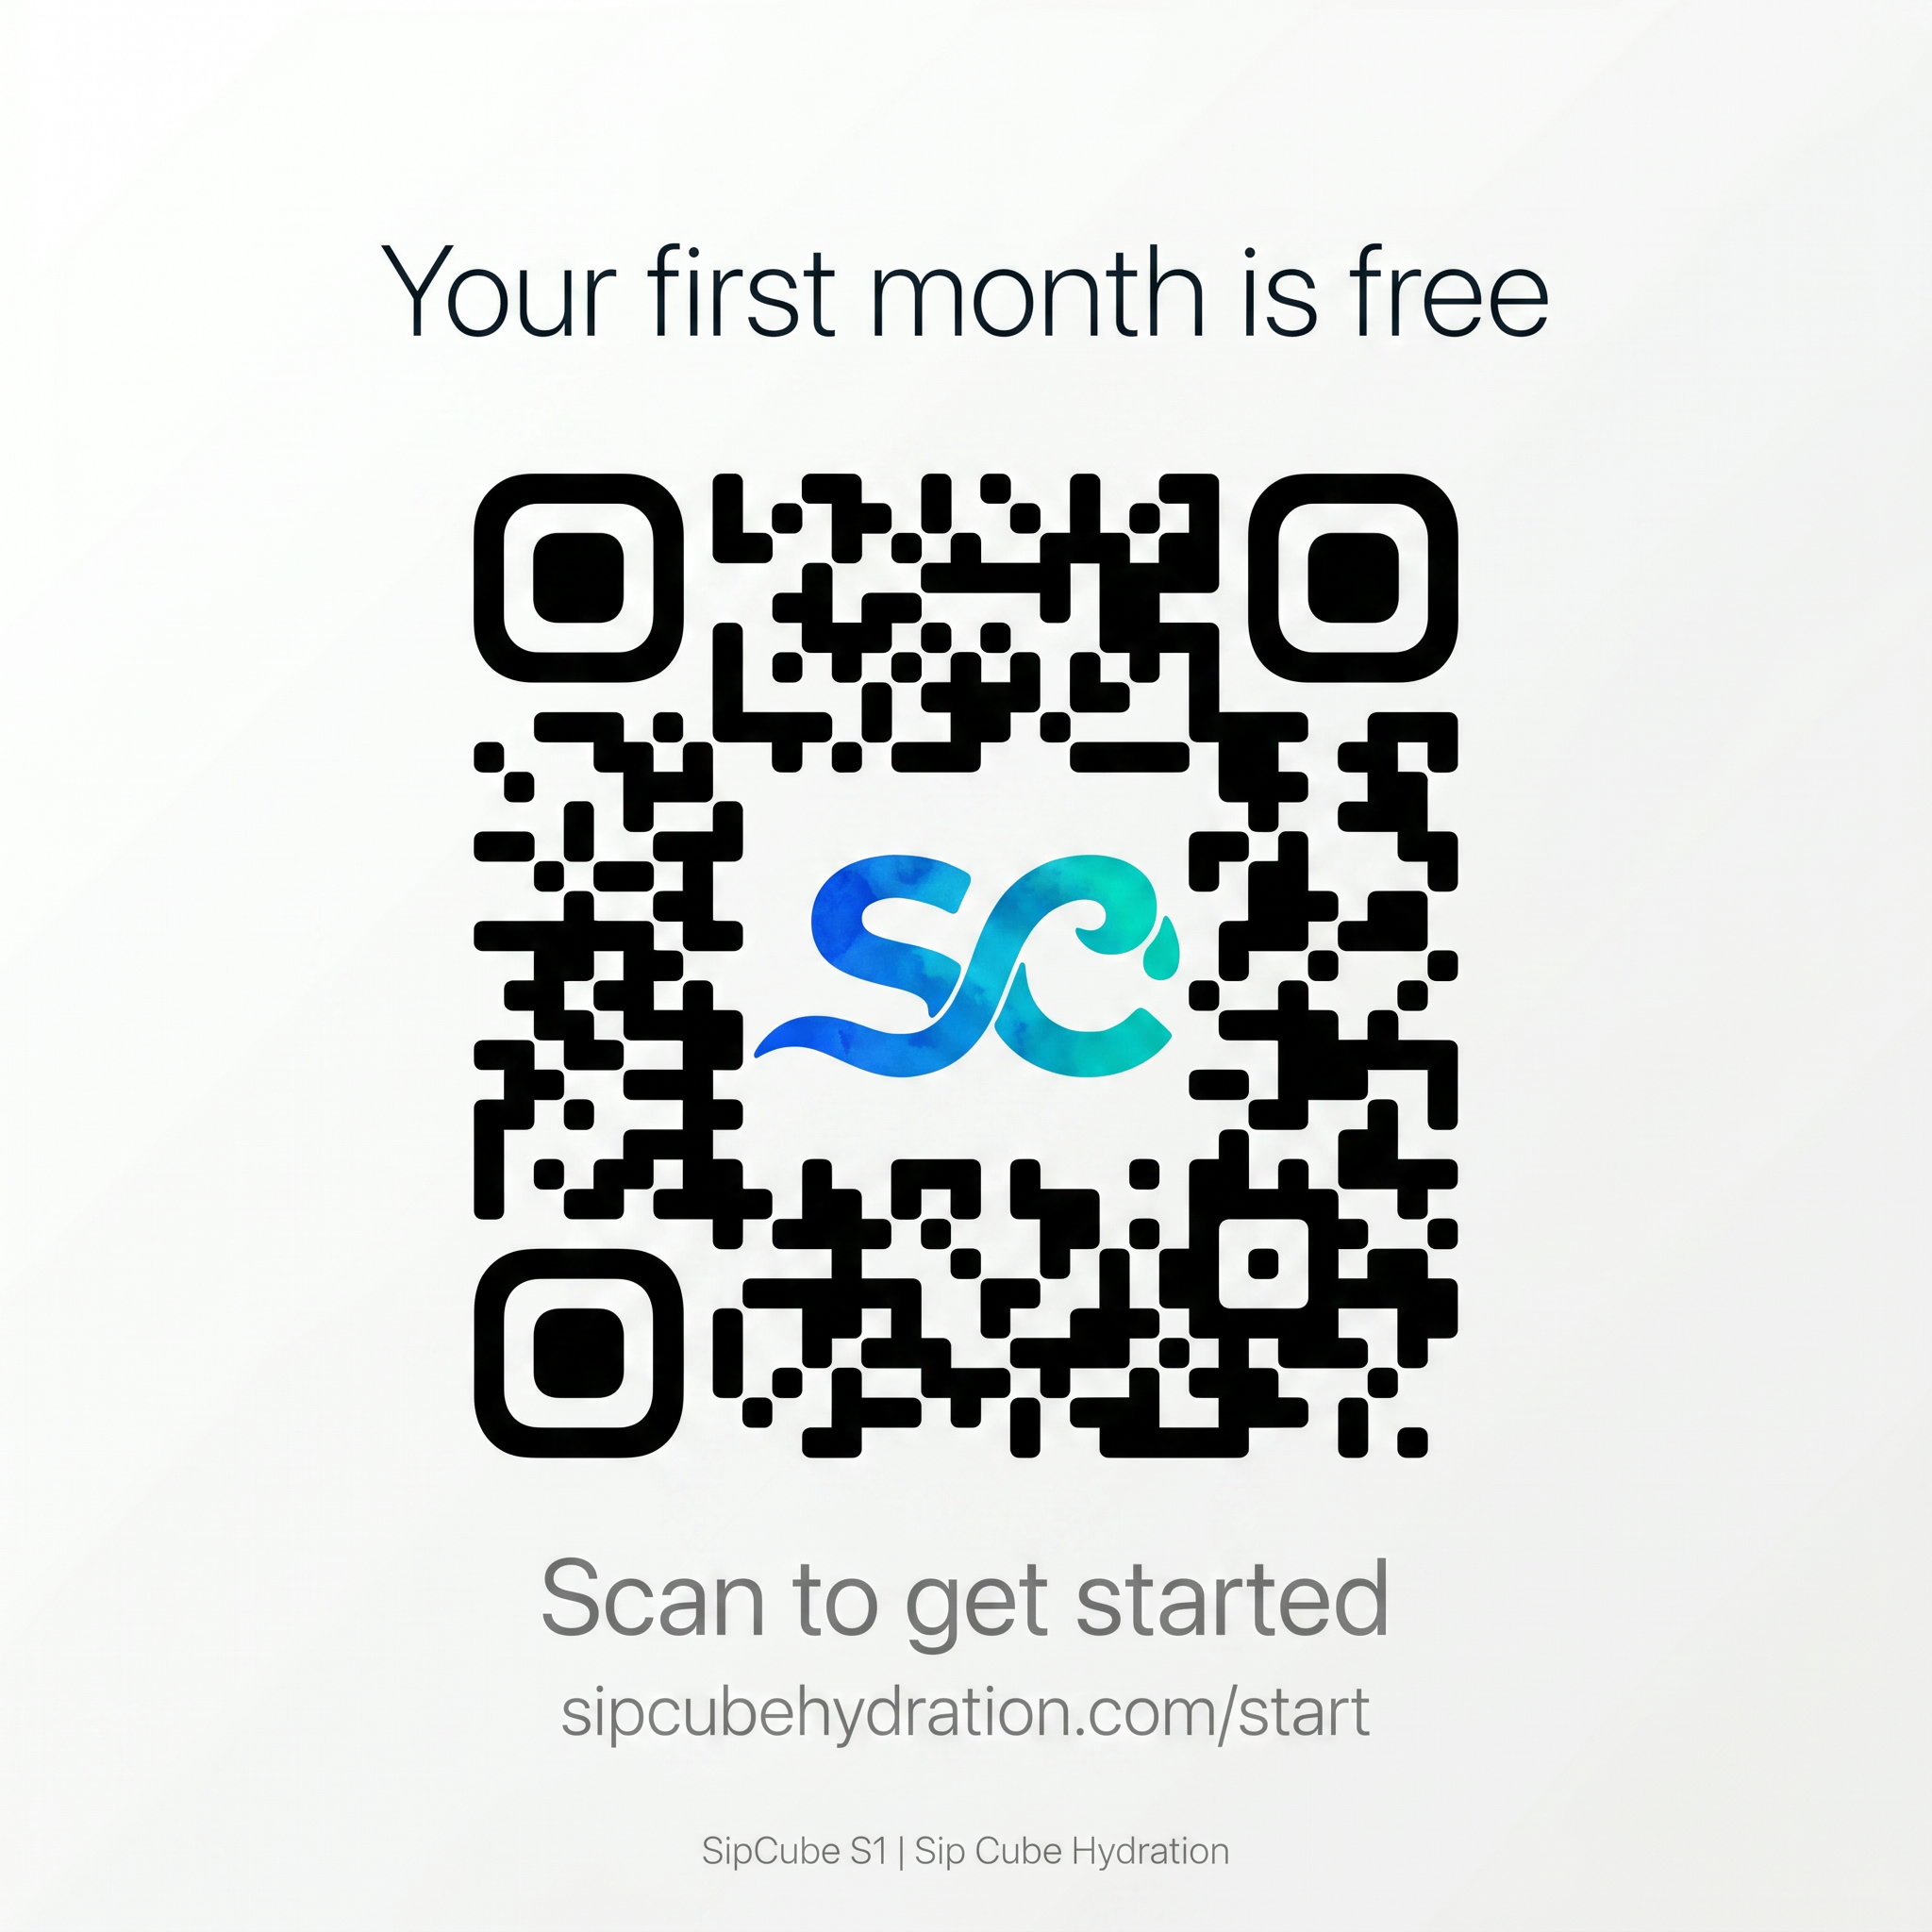
Visit sipcubehydration.com/start to get started